Hope you are all doing well. I wanted to create a series of posts where I will talk about the thought and approach I take whenever tackling a new project. And a lovely little tag now helps you search for similar posts!
Gathering Inspiration
I knew ahead of time, that the next time I were to attempt a sheep, ram, or goat, I would make an art doll rather than a soft sculpture. I am just so inspired by people who sculpt the faces and feet of their animals. My favorite art dolls definitely come from Magweno.
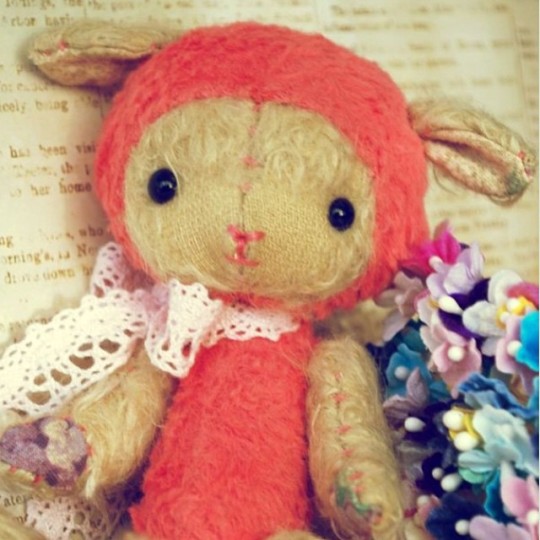
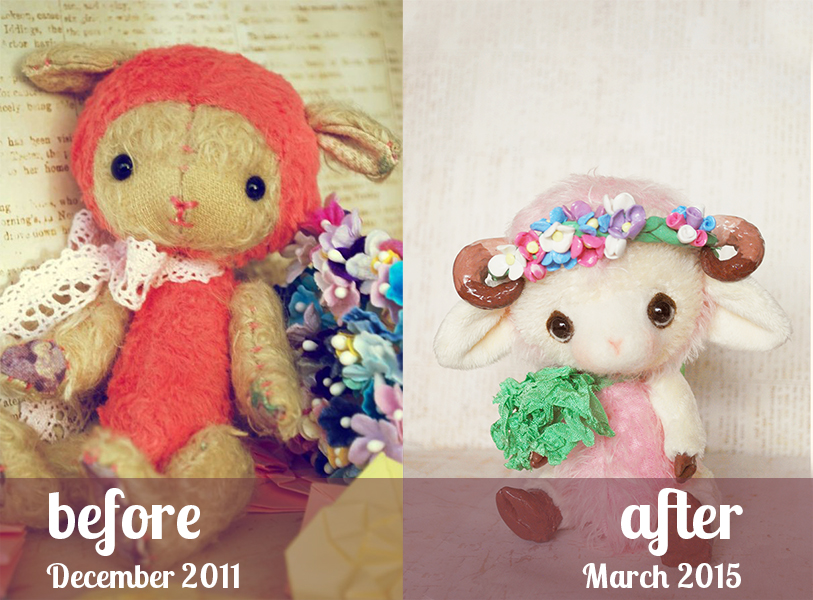
Rather than sketching out a draft of what I want the finished piece to look like. I first decide on a color palette and then decide on the theme for the accessory. After playing with a variety of colors and themes, I decided to draw inspiration from the past and redo my first lamb.
Back then, I bought my mohair and viscose dyed, but now that I have my own dye pots and dyes, I went for a softer cream and pink and then wanted to incorporate the flowers in by making a flower crown. I went with Forget-me-nots, and I love the colors of the batch in the first photo. I gathered some photos of flower crowns on Pinterest for an idea of how I would like to approach it in doll size. I like to collect doll photos and other crafting inspiration. If you need some images to get your started, you can find my boards here.

From the dye pot, I go straight into the doll. I know some artists like to sketch out a basic draft, but I am more of a kinesthetic person than a 2D visual person, so I like to be more fluid and play with the ideas before fixating on anything in particular.
Sculpting
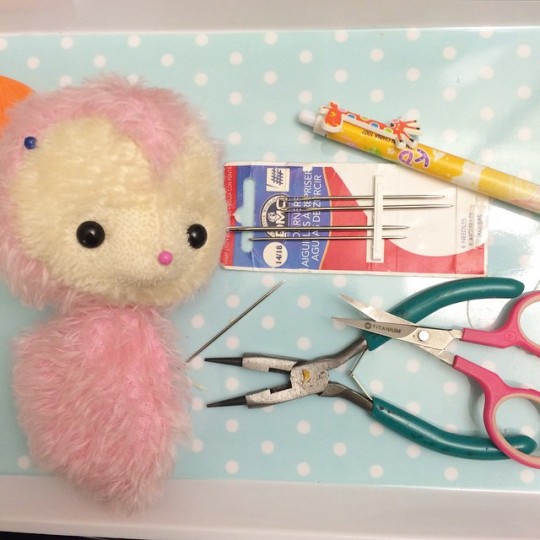
Next up I had to tackle on how I would like to create the face. I used a shorter pile for the face to distinguish from the longer pile in the body. I created a heart shaped face just as a preference. The blue pin marks where I intend to attach horns.
I chose slightly larger eyes and a smaller, longer face after staring at some sheep photos. They also have that lovely nose that's very pronounced, so I tried to translate it into my doll.
I went for a more distinct inverted "v" nose with a small face. Sculpting the eyelids downwards do give a more full sweet expression. Tip: The larger the eyes, the closer you might have to set them so that ends do not hang off the face. It still gives you enough space to add eyelids and a waterline. Nothing like a waterline for a more "dolly" effect.
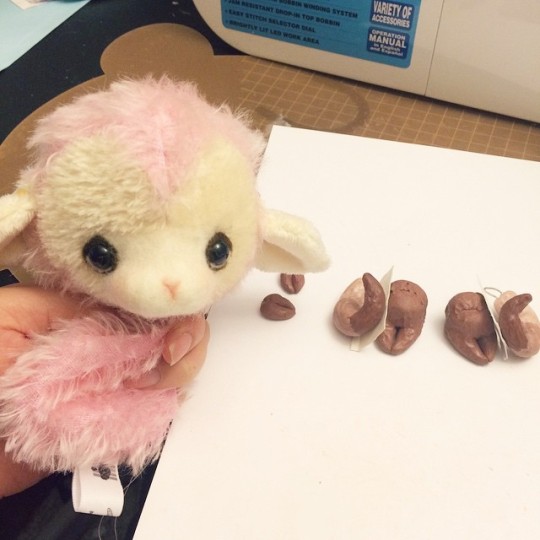
Continuing the Blooming Spring I went with a warm cocoa brown, I sculpted little hooves for the arms and then decided I wanted her to stand. Choose a larger flat design to help balance her head out. Using a ball tool, I textured her hooves and horns, drawing on anthro BJDs for inspiration.
Choosing how to curl her horns was probably the most time consuming part. Lots of google searchs of sheep and sheep dolls and sheep sculptures were involved, and I played around with it and her ears to decide how they would best fit in her head.
After all the pieces were baked, I made new limb patterns to fit the clay parts. Tip: Don't use hot glue, it will not hold to either the clay or the fabric. Your clay will pull right off. I like using a cyanoacrylate of some sort (Super/Crazy Glue)
Once the limbs are made, all that's left is some assembling and the sheep is done.
Once the limbs are made, all that's left is some assembling and the sheep is done.
Accessories
Last but not least are the accessories. For me, the little details really make the doll. I wanted to bring back some of the pinks, purples, and blues from the first photo, I braided a headband in my favorite shade of green and made some lovely flowers and buds. Then a little gloss and ribbon to finish it all off.
Well there you have it! One little sheep done!
It's an updated spin on a past idea! I hope you enjoy Divina as much as I did.
Stay tuned for more experimental adventures this year by subscribing via email or Google. Widget is in the side bar.
Until next time!
I'd love to hear from you, so keep in touch!
Laine


No comments:
Post a Comment